Behind the Mask
Behind the Mask
Behind the Mask
Original price was: $99.00.$49.00Current price is: $49.00.
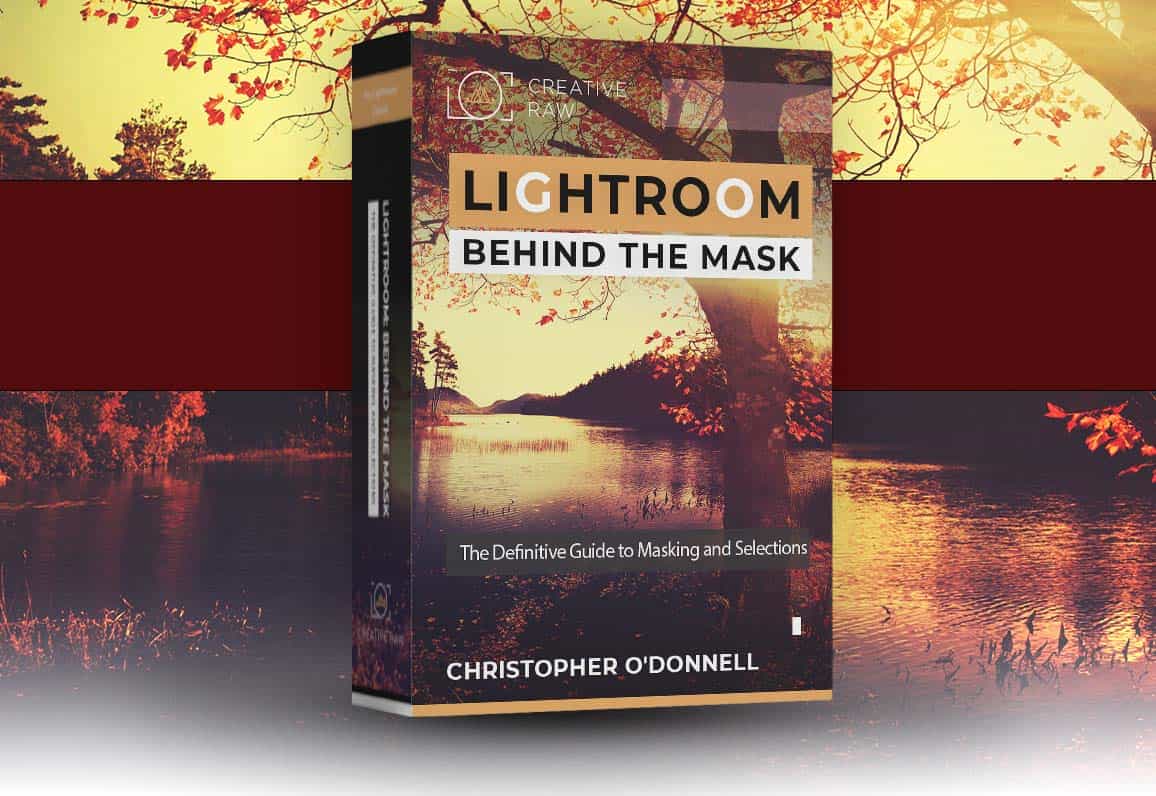
The masking panel in Lightroom is the best way to create highly-refined, localized adjustments that will 10x the quality of your final prints. In this comprehensive, “no stone left unturned” workshop, I will guide you from your very first masking steps to the most advanced techniques that professional landscape photographers use.
Description
The introduction of the masking panel has been the most transformative update that Lightroom has received since it was launched, and it’s easy to see why…
The ability to isolate your adjustments to a localized area of your frame – whether it’s a range of light, color, or a specific subject – is the key to higher-quality processing… and thus, higher-quality final prints.
To make this in-depth course easily digestible, I’ve divided the content into two main sections:
SECTION ONE: Masking Panel Foundations
To start, we’ll dive deep into the basic masking principles and methods, where you’ll find answers to questions such as:
- How is masking fundamentally different from my other adjustments, and what exactly makes masking so powerful?
- How can I leverage masks to benefit ME and my workflow?
- When should I use masks, and when should I NOT use them?
- What’s the difference between masks, selections, and layers…and how do they work together in the masking panel?
- What is the best way to add a new mask, and how do I alter existing ones?
- What do intersect, invert, and subtraction masks do…and why would I use one over the other?
Not only will this bring absolute clarity to the masking panel as a whole, but it will give you a stable foundation before learning the individual masking methods (such as color range, object selection, etc).
This will get you about 80% of the way there to being a masking expert…
And will also make the rest of the masking panel a piece of cake to learn!
SECTION TWO: Masking Mastery with Selection Methods
Once you have an in-depth understanding of the basic principles and concepts of the masking panel (the how, why, and when of masking), you will then be fully equipped to explore the individual selection methods.
Now, each selection tool shares the same basic goal: it’s a way to isolate part of your image for adjustment. However, the key to using masks successfully is to know which method is going to give you the most precise and flexible mask…
In the fastest way possible, but without sacrificing quality.
This is my favorite part of the course because this is where we explore their unique attributes and learn how to leverage them to create the best mask possible…
It’s where everything comes together and makes perfect sense.
Now I’ve been using masks over in Photoshop since I first made the switch to digital back in 2007…
There’s just absolutely no replacement for the power, flexibility, and QUALITY that masks and layers provide…and probably never will be.
They can enhance virtually ANY adjustment you make in Lightroom, and are the key to obtaining that final “polish” that the professional-grade photographs all seem to have.
So the fact that we now have that incredible power in the Lightroom ecosystem is an absolute game-changer for landscape photographers of all skill levels.
If you feel like your landscape photographs are lacking that special “something”, but you can’t quite put your finger on it, or if you’ve otherwise struggled to create meaningful images you can be truly proud of…
Then you don’t want to miss this, because you are going to love what the masking panel can do for you!


