How I Photograph a Golden Hour Landscape
How I Photograph a Golden Hour Landscape
There’s a profound challenge that many landscape photographers face when photographing a sunrise or sunset: they often find that their golden hour images rarely represent the scene they observed. Not only is the sky blown out and the foreground deep in shadow, but compositions tend to weaken when distracted by the mesmerizing light and texture of this time.
In this article, I go over some of my best techniques that I use to compose my golden hour landscapes….which I hope gives you more confidence in your ability to photograph this beautiful light successfully. With this new knowledge, you can overcome any disparity between your view and your results…and focus on enjoying your photography and expanding your creative horizons.
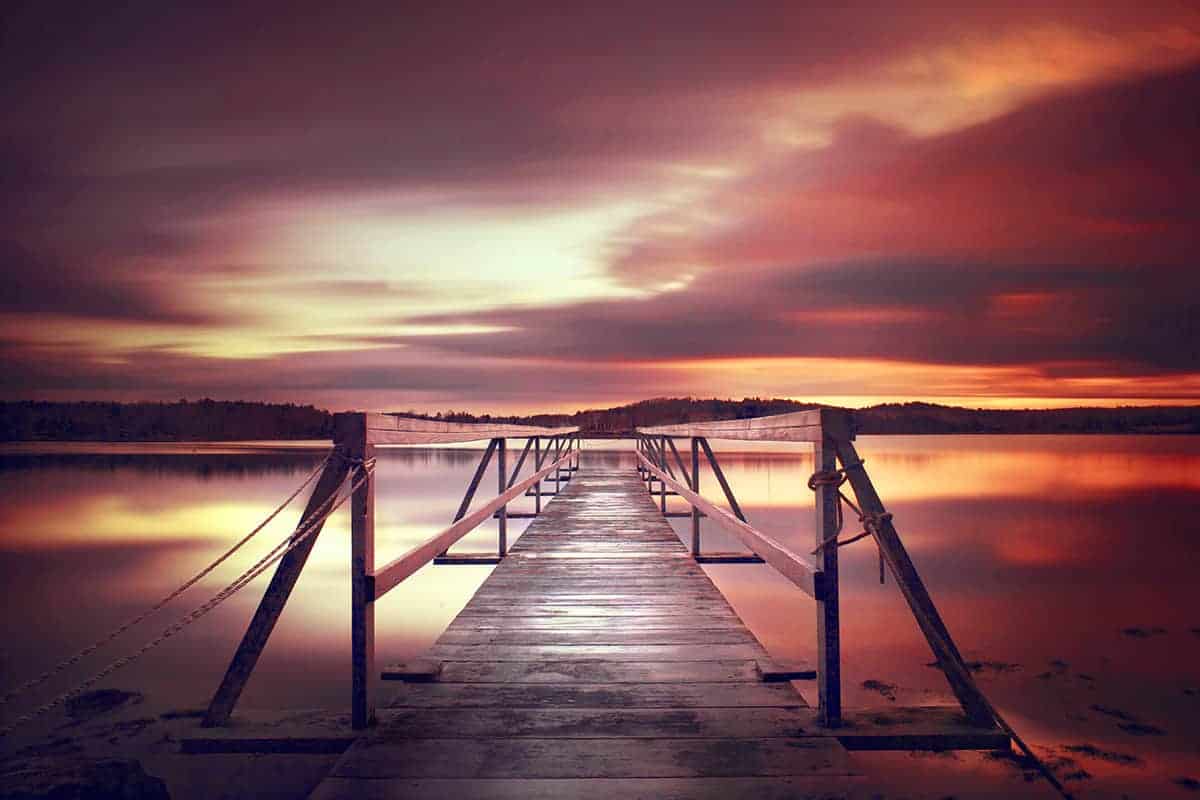
Once I’ve settled on an ideal location for the golden hour light, my first instinct is to choose a composition and focal point that compliments my environment. I usually do not decide on a specific vantage point until I’ve taken in all of my surroundings as my image is entirely dictated by the light during this time.
Not only is the angle of light an important factor, but both the quality and strength of the light have much to do with how it interacts with the landscape – specifically if it’s affected by clouds and other atmospheric elements.
When the sun is at such a dramatic angle, even the slightest move towards the horizon can drastically transform the scene around you.
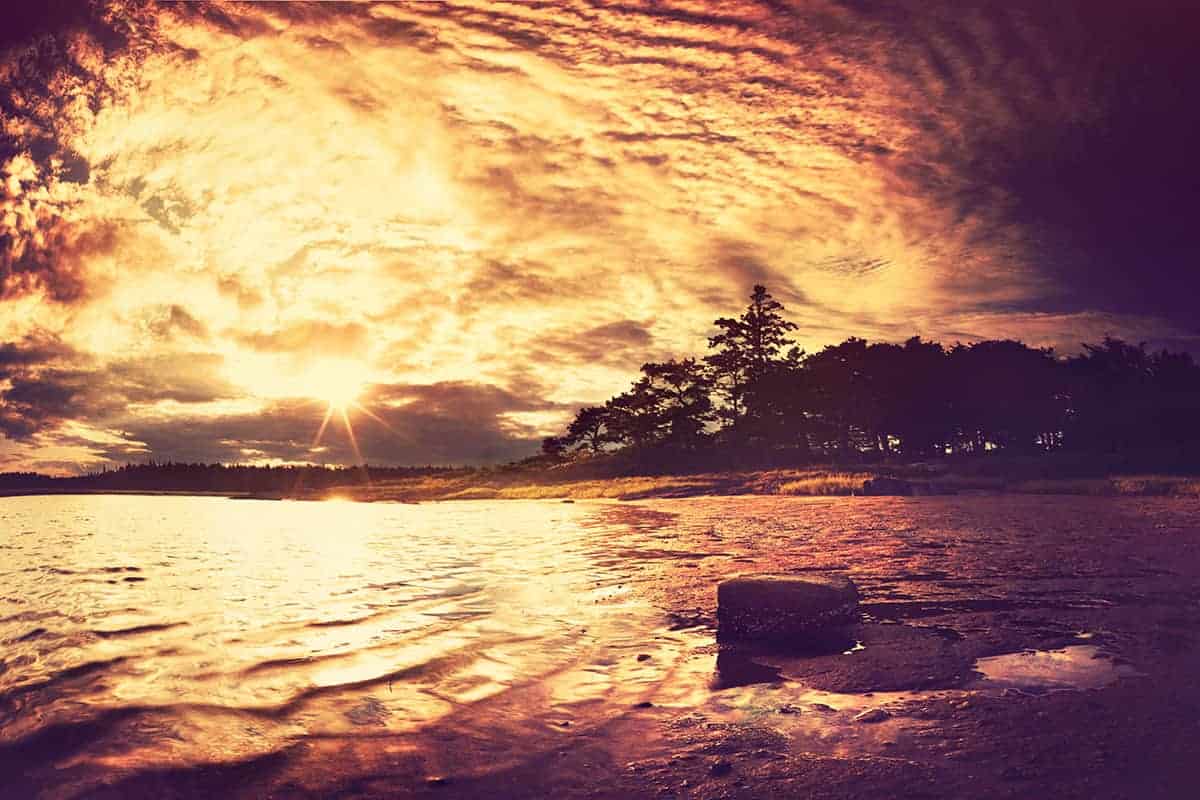
Location scouting will give me a general area of interest…but I will often let the light dictate my composition once I return to that location.
Evaluate the sky first.
When I approach my scene during the golden hours – whether it be a beach or a forest – I survey the sky first. Is there enough interest to make this my focal point?
Clouds have a way to make a dull, flat sky come alive with textures and colors, which is only amplified as the sun is closer to the horizon line. I will rarely miss an opportunity to make the golden hour sky my focal point when there is lots of drama present in the clouds….unless there is something truly extraordinary in my foreground.
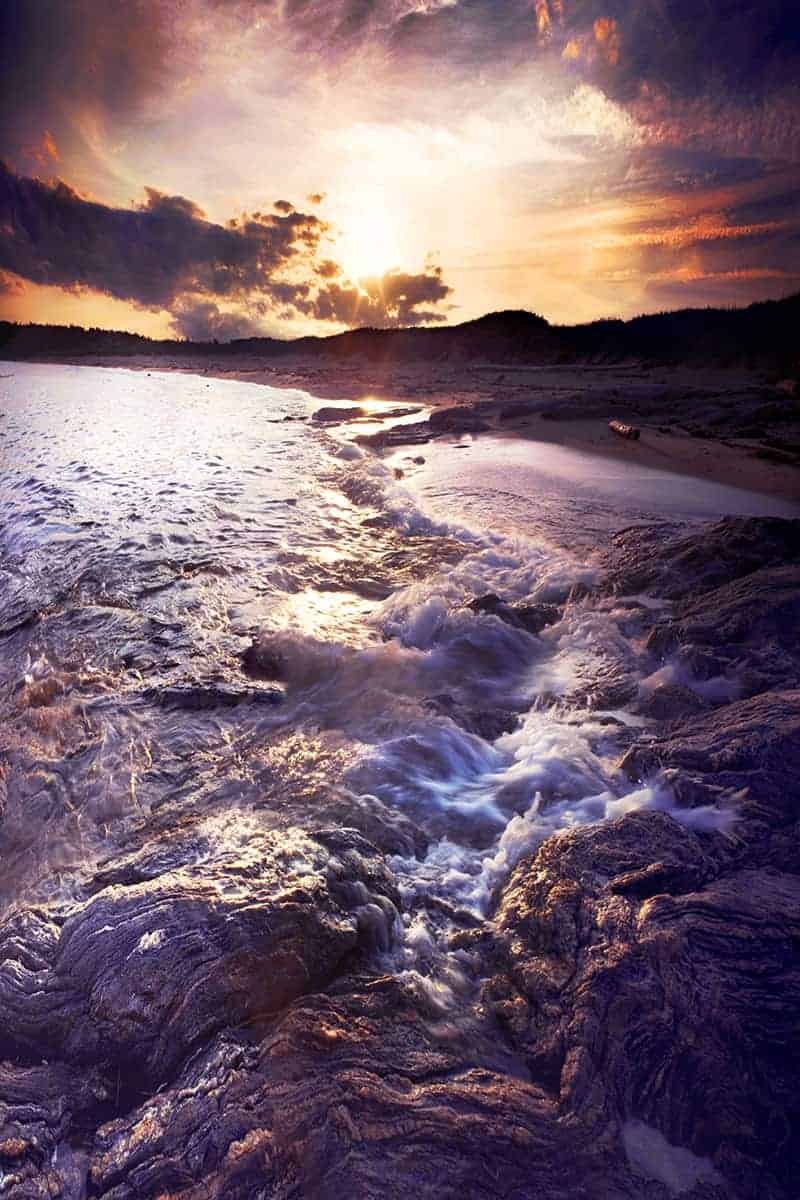
Clouds can also extend the golden hours before sunrise or after sunset depending on their elevation. Just like many environmental elements, clouds reflect light – which explains why the colors and textures of clouds explode during this time.
While the sun may still be hidden behind your horizon, the clouds above are within the sun’s view…making for an ethereal show of color and tones.
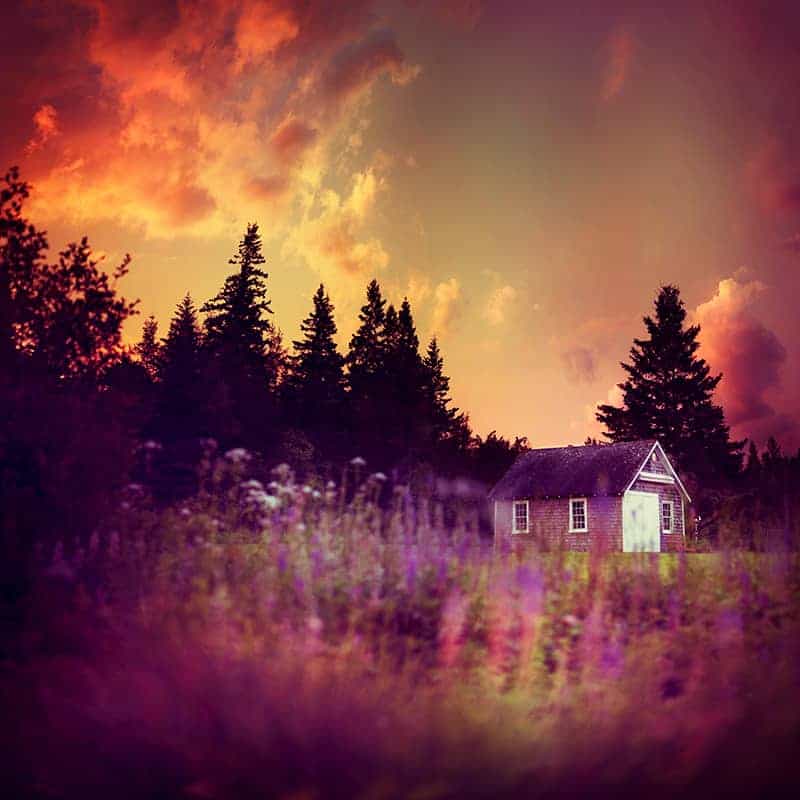
If, however, the sky is flat and uninteresting, I will often choose to include the sun in the upper left or right corner of my frame and search for a prominent foreground subject to help even out the “weight” of an image.
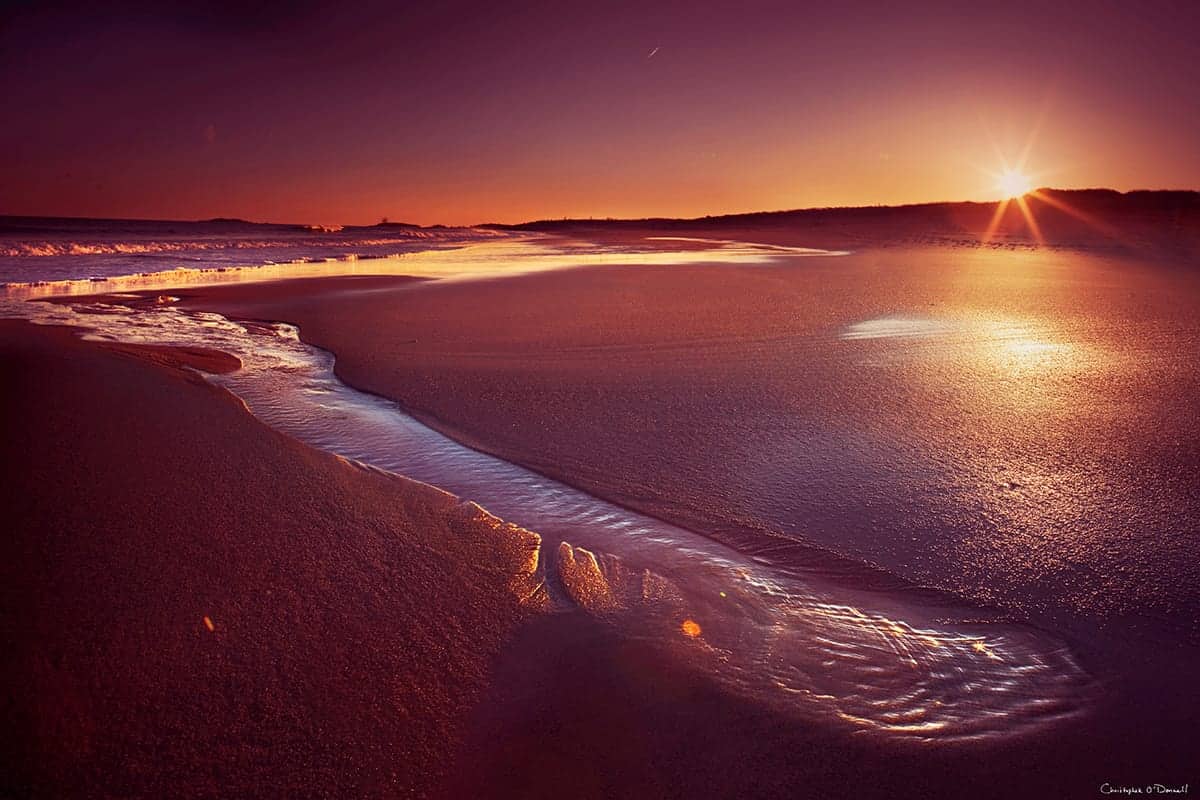
Directing the Flow
If I choose the sky to be my main focal point, I will look for a foreground subject that will not only compliment it, but help to balance my composition. The weight of my focal points in relation to the sky is very important to me, and is something I take into great consideration when composing my frame.
By “weight”, I am referring to the power and balance a specific focal point has over the entire image. A photo that has a heavy focal point will draw much attention away from the rest of the composition…while a light focal point will be barely noticeable, and perhaps only once the entire image has been looked over.
Usually, I want to create a balanced image where the sky and ground have an equal amount of weight. Depending on the heaviness of my sky, the foreground subject I choose can vary greatly. A highly-detailed, intricate sky will draw much attention, so a strong and noticeable foreground focal point will be required to make a complete and well-balanced image.
Redistributing the weight of your focal points is another way of altering the flow of your image: how your eyes move across the composition, and what points cause them to pause and focus.

When composing for the sky, it’s important to not let it “float” by adding “anchors” – points of reference that give it perspective and depth (like the boats and islands in this image).
Using “anchor points” for a stronger composition.
A photo of a stunning sunset sky can be mesmerizing, but without an anchor point to ground the image, it can appear to float and become lost. By framing your scene with added interest and reference points, you can present a more powerful impact.
Foreground anchor points not only ground your scene with added interest, but they can also help to balance out a dramatic sunset or sunrise.
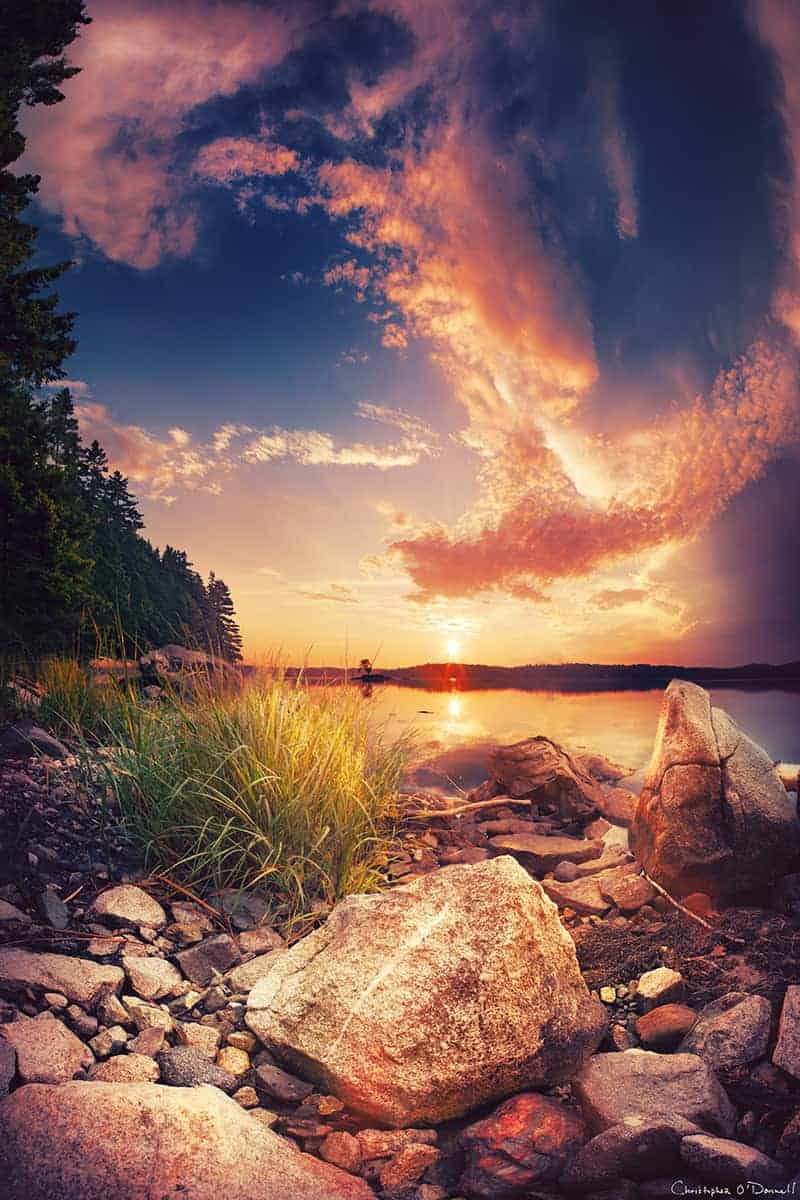
This golden hour sky exploded with textured, swirling clouds over the bay. I wanted to include the tree line on the left of my frame, but knew that was not enough interest to anchor my sky.
For added depth and interest, I composed the setting sun with this sizable shoreline rock. Notice how it redistributes some of the weight (or attention) away from the sun and onto the lower third. Without it, the photo becomes unbalanced and begins to float.
By checking the foreground for interesting elements, you can incorporate strong focal points that enhance your entire image.
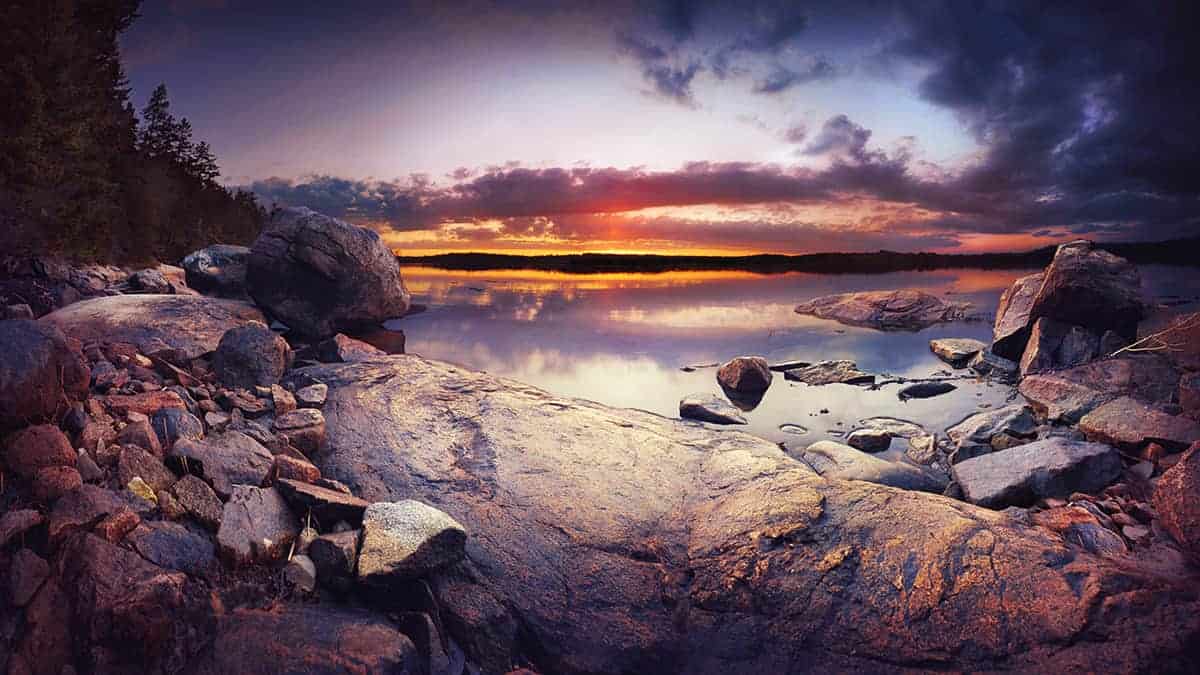
If I lack a strong, singular focal point to balance out a dramatic sky, then I will often switch the “rule of thirds” and place the horizon line in the upper third of my image to include more ground in my composition. The lack of a heavy anchor point in my foreground above is now balanced by reducing the area of the heavier sky.
Finding the perfect balance.
There are many creative paths you can take in order to balance out the weight of your image – for example, changing focal lengths, adjusting your aperture, or altering the size of your frame. I go over several in-the-field techniques I use to compensate for an unbalanced frame in this article here, but for now I’d like you to take a moment and study any golden hour photos that you consider exceptional.
Identify the focal points, and analyze how they work in harmony to create a visually-pleasing scene. Your ability to be flexible and adapt to the landscape will not only push your creative boundaries but will make photography more enjoyable by providing you with the means to get the results you are striving for.
The light of your environment changes constantly during the golden hours. Knowing how to accommodate for these changing conditions will give you the creative freedom to pursue any landscape!
Ways to control the golden hour light.
So now that you have an idea of how the light interacts with your landscape, let’s go over how to render this gorgeous light successfully with your camera.
The golden hours set the stage for you to capture an ethereal view of the world, and is a time of day that is highly coveted by landscape photographers. At the same time, this light presents a unique set of challenges that can be difficult to overcome if you don’t know the proper workflow to use.
The natural light differs as the sun moves throughout the sky, so it makes sense that we need to change our camera workflow to accommodate for this movement.
Your camera sensor is typically not capable of capturing the entire tonal range of the golden hours.
In the simplest terms, your camera is a tool made for capturing light, with many features you can utilize to adapt to different environments. Varying qualities of light (direct, overcast, filtered, etcetera) require different methods to capture it, and the golden hours certainly have their own parameters to work inside of.
However, the unique challenges this time presents are well worth the added effort as this light yields highly rewarding results.
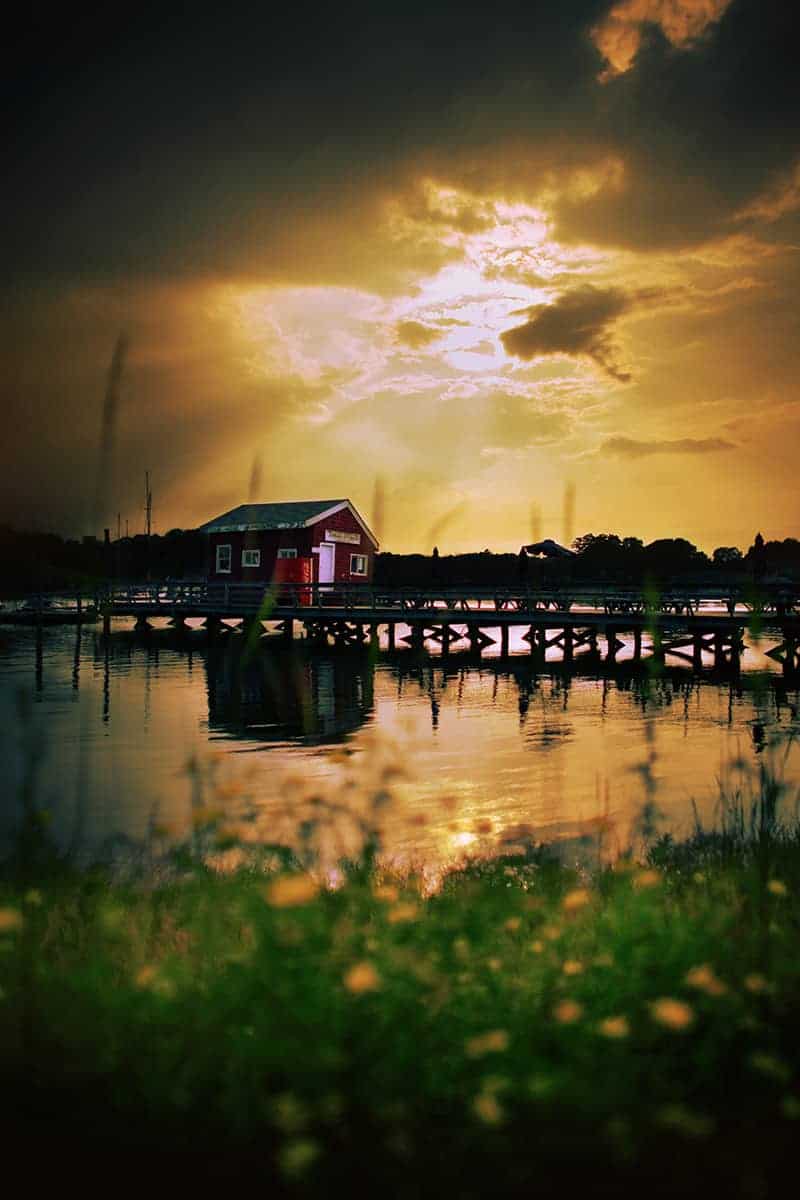
The directional light of the sun during the golden hours can add much depth and texture to your scene, making for a visually stunning composition. This amplification of detail comes from an increase of shadows and highlights across the landscape.
This light can transform any boring object into a textured focal point, drawing much interest and attention to an otherwise mundane subject.
When you view a golden hour image in black and white, you can see the vast differences between light and shadow, and these differences contribute to the added texture and interest you see when the sun is at such an extreme angle.
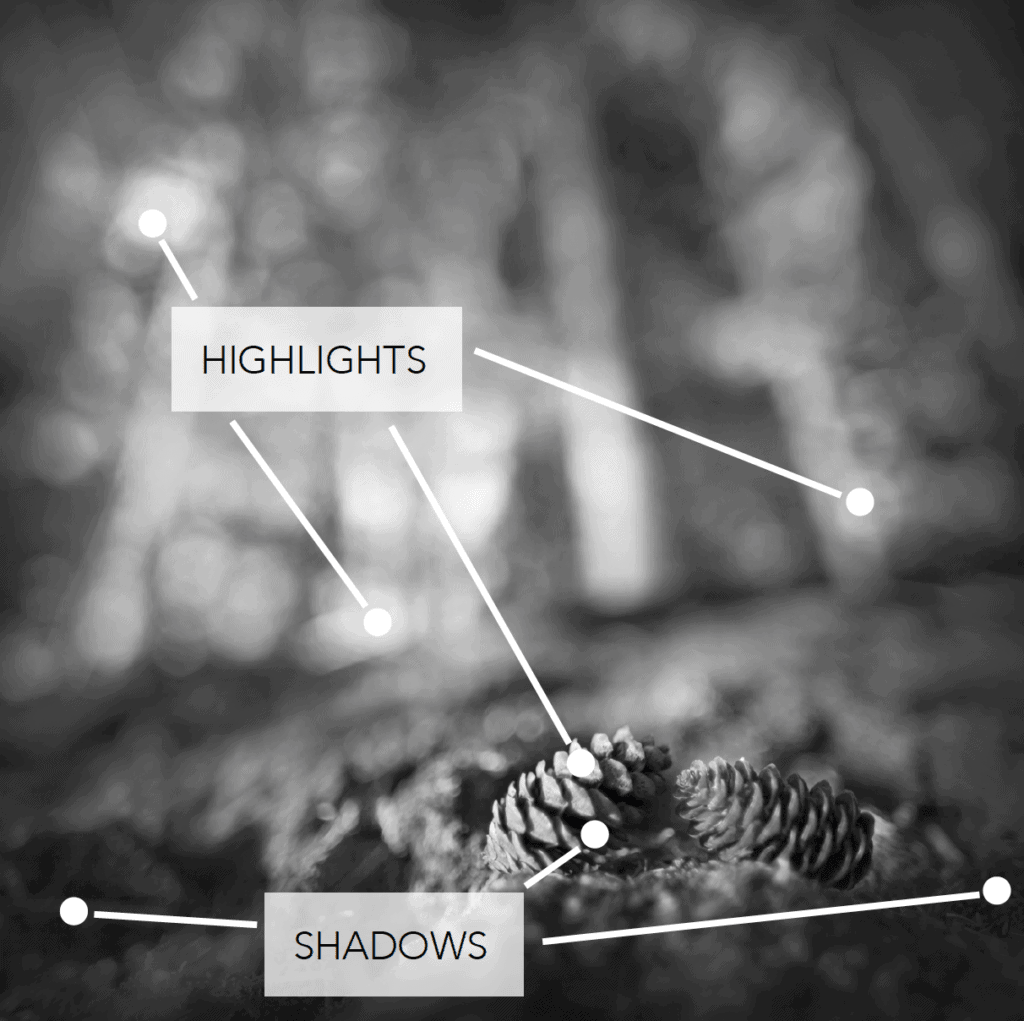
It is also the source of much frustration as your camera sensor cannot capture the full quality of both the brightest highlights and darkest shadows of this vast tonal range.
The “golden challenge” for proper exposure.
All these variations of light and tones make it challenging for your camera to capture them under one exposure without some noticeable side effects, which mainly come in the form of crushed shadows and blown highlights.
The two images below are probably familiar scenes to you when trying to capture a sunrise or sunset. The sky is naturally brighter than the ground, especially as the sun nears the horizon and your foreground becomes backlit.
Since your camera can only take one exposure at a time, and you’re photographing a scene that has several different optimal exposures within the same frame, you’ll end up with parts of your image that are overexposed and/or underexposed.
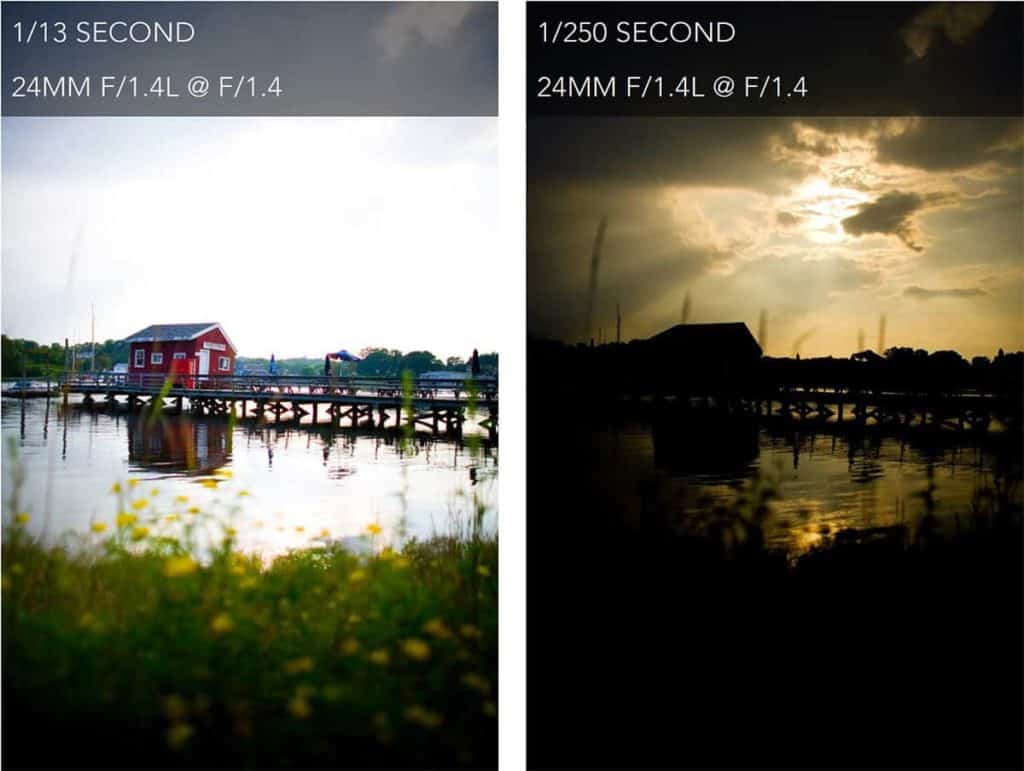
In the left frame, my shutter was open too long for the sky, despite the ground level being exposed properly. By choosing a shutter speed to capture my foreground, I lost nearly all of the fantastic sunset detail. Unfortunately, too much of the sky is overexposed, which means it can only be recovered by adjusting my exposure.
When I reverse this process and adjust my exposure for the sky (right), the ground becomes underexposed and I lose all of the interest and color that the opposite image captured. The underexposed details here, much like the overexposed areas of the left frame, are not rendered on the camera’s sensor and therefore cannot be recovered fully.
Typically, your camera’s meter will try and compensate for this disparity and “even out” the difference of exposures between sky and ground. This usually results in a distracting combination of the two, with your sky washed out, your ground too dark, and much detail lost in the process.
So what you see with your eyes is often quite different than what your camera is able to capture, and this disparity is the source of much frustration to photographers.
Blending exposures together for a complete tonal range.
This disparity in exposures is why many golden hour scenes are not rendered the way they appear in person, and photographers often notice this lackluster representation of what should be a stunning image.
The good news is that there is a simple way to overcome the “golden challenge” in Photoshop, and the results are truly phenomenal!
Since the camera can not accommodate for these differences within the same frame (that is, expose part of your image for the highlights and another part for the shadows) we need to manually blend the best parts of each exposure into one frame to recover the full tonal range.
This will ensure that your entire image is a true representation of the golden hours, and that any lost detail from improper exposure has been recovered fully.
Great! So how do I exposure blend?
There are many tools out there designed to blend exposures together, but the highest quality results (landscapes that are exploding with detail without the over-processed look) will be from Photoshop.
There are many quick and automated ways to expand your tonal range and recover more detail in your photographs….such as using third-party programs like Photomatix or even “faking” an exposure blend by using just one raw file….
However, like with most processing techniques, these shortcuts come at a cost of quality. There are very important reasons why myself and other landscape photographers continue to use Photoshop to blend brackets when there are quicker options out there….so I want you to understand why Photoshop is the best tool for exposure blending.
But first, you need to know how to capture perfect brackets in the field….otherwise, you’re going to have a very difficult time blending (no matter what program you use).
If you haven’t downloaded it already, I’ve put together a totally-free HDR Field Guide which will teach you proper camera techniques so you can capture extraordinary (yet natural-looking) landscapes.
I know how intimidating Photoshop and exposure blending can be….but actually, the workflow is quite simple (not to mention a lot of fun). You just need a mentor to explain the process to you step-by-step, which is why I created this field guide to get you on the right track.
