My Best Tips for Creative Autumn Photography
My Best Tips for Creative Autumn Photography
Autumn is, by far, my favorite season to photograph. The first piece of foliage signals the beginning of an ethereal journey through nature as I watch it transform into vibrant hues of red, orange, and gold. Scenes that I have become familiar with morph into a mosaic of colors and tones, and the cooler air and unsettled weather contribute to the creation of a dreamscape playground.
Since autumn photography is a personal pursuit of mine, I wanted to create a list of fall foliage tips to help you navigate through this otherworldly season and harness your creative expression.
1. NATURAL LIGHT AND FOLIAGE
Landscape photographers are well aware of how important the quality of light is to an image, but it plays a particularly important role during the fall foliage season. Light creates the atmosphere and enhances the overall experience. Different types of light have particular strengths, and knowing what those advantages are will lead to a more fulfilling experience during this short window of opportunity.
Diffused Light
If your goal is to amplify the natural color of foliage, then you will find much success with the soft, diffused light of overcast days. Colors appear more saturated without the interference of direct sunlight, which can expand your creative horizons during a drizzly autumn morning. Water has the ability to amplify color as well, so foliage that has been recently dampened by a passing shower or still wet from melted frost will explode with color.
One of my favorite times to photograph the autumn foliage is on overcast, damp days as I can spend hours creating without being dictated by the angle of the sun. The mood is thick with suspense, and I find this experience to have great influence on my work as I tend to seek out moody and mysterious compositions.

Remember: you can download a PDF of this article for later viewing by clicking the button above (or just click right here).
Direct Sunlight
As the season turns to autumn, the sun moves lower in the sky which results in a more pleasant light when compared to the summer months. Shadows are lengthened and highlights are intensified, and previously uninspiring scenes are now exploding with texture and depth. The image below was taken three hours before the official sunset time, but notice how low in the sky the sun is placed. Your window of textured light is expanded during the autumn months, allowing for more opportunities to create during the foliage season.
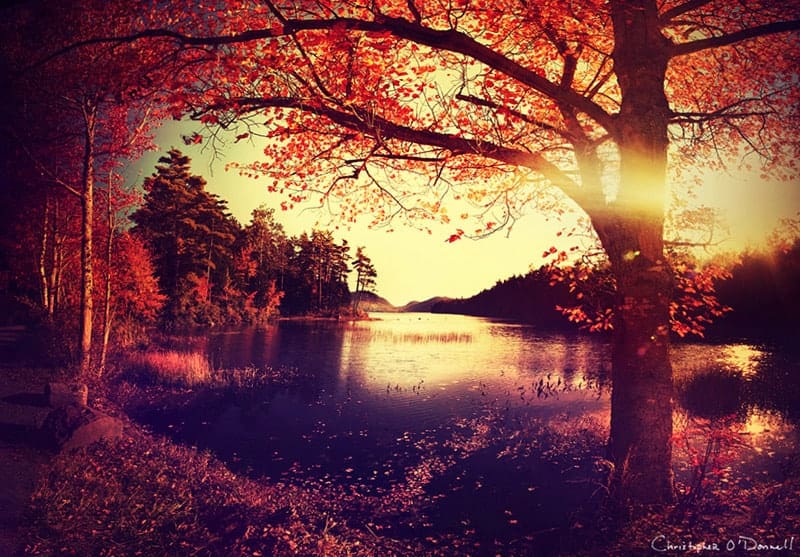
Golden Hour Light
The golden hour light has the ability to add intense warmth and pleasing light to your scene, amplifying a sensation of comfort and happiness. Texture and depth are prime during the sunrise and sunset hours; highlights and shadows dominate the landscape, creating a mosaic of deep autumn hues and strong tones.

The golden hours are coveted by landscape photographers, and this unique light requires a specialized workflow to compensate for the intense highlights and shadows. Exposure blending is often needed to recover the full tonal range, and there are particular requirements in order to successfully photograph this phenomenal light.
Which is why I created an exposure blending eCourse for the creativeRAW lifetime membership program, which you can read more about right here.
Moonlight
Photographing the autumn foliage at night can prove to be just as fruitful as any daylight composition. Remember: soft, diffused light can amplify colors, so the moonlight filtered through clouds can be a prime opportunity to capture vibrant hues with a soft atmosphere.
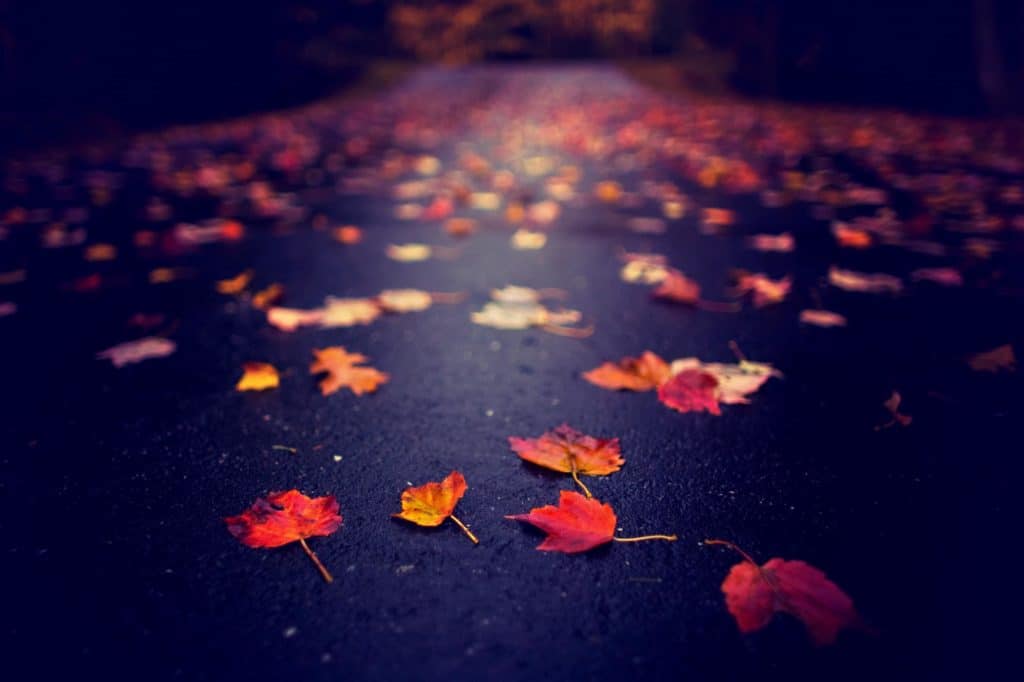
This late-night photograph was a 300 second exposure taken at f/1.4, with the moonlight filtered by a very thin layer of clouds after a passing rain shower. Water increases the saturation of color, and when combined with the diffused moonlight, it can create an exemplary stage for intense autumn colors.
There was another reason for photographing this scene at night. Since foliage begins to lose its color as soon as it drops from the tree, I knew that these leaves would be less vibrant if I waited until morning. Additionally, the recent rain shower would cause the leaves to dry up and crumble, thus losing the wonderful texture and detail at this vantage point.
2. AUTUMN PERSPECTIVES
Changing your vantage point can produce stellar results, especially with fallen foliage. A simple shift in perspective can create a more captivating and versatile autumn portfolio, one that will grasp attention and satisfy your creative need for expression.
Height
It’s natural to photograph your scene at standing height, and this perspective may produce a perfectly respectable autumn photograph. However, you can instantly transform your atmosphere and add depth by shooting at a lower vantage point. I find laying flat-out to be especially successful in adding layers to an otherwise flat image, with foliage being my foreground subject. I can easily find a strong focal point during autumn, and I tend to take full advantage of the vibrant colors and textures which nature provides.

Focal Length
Selecting a focal length for fall foliage should be a deliberate choice. Wide focal lengths add depth and a sense of otherworldliness by exaggerating distances between elements in your frame. I’m particularly fond of combining a low vantage point with a wide angle lens. Autumn is an ethereal time of year, and I find this effect to enhance the dreamlike atmosphere.
With my 24mm lens at ground level, I was able to dramatically change my perspective and add substantial depth to this mushroom that would not be possible if my camera was just 6 inches higher.

In contrast, long focal lengths will compact your distances, allowing you to bring forth those background elements that would be rendered indistinguishable with a wider length. The background trees and foliage in my image below were much further away than they appear. However, the reach of my 85mm lens was able to render them as having a more dominant presence.

Aperture and Depth of Field
Controlling your depth of field can greatly enhance the autumn atmosphere you wish to create. While more traditional images tend to adopt a deep depth of field, I find much success with a more shallow experience. For me, it amplifies the ethereal experience of autumn and can add layers of depth to an otherwise flat, unimaginative scene.

With a shallow depth of field, you can easily isolate pieces of foliage that you find particularly interesting or powerful, allowing you to direct attention onto a subject that would otherwise be overpowered by the surrounding environment.
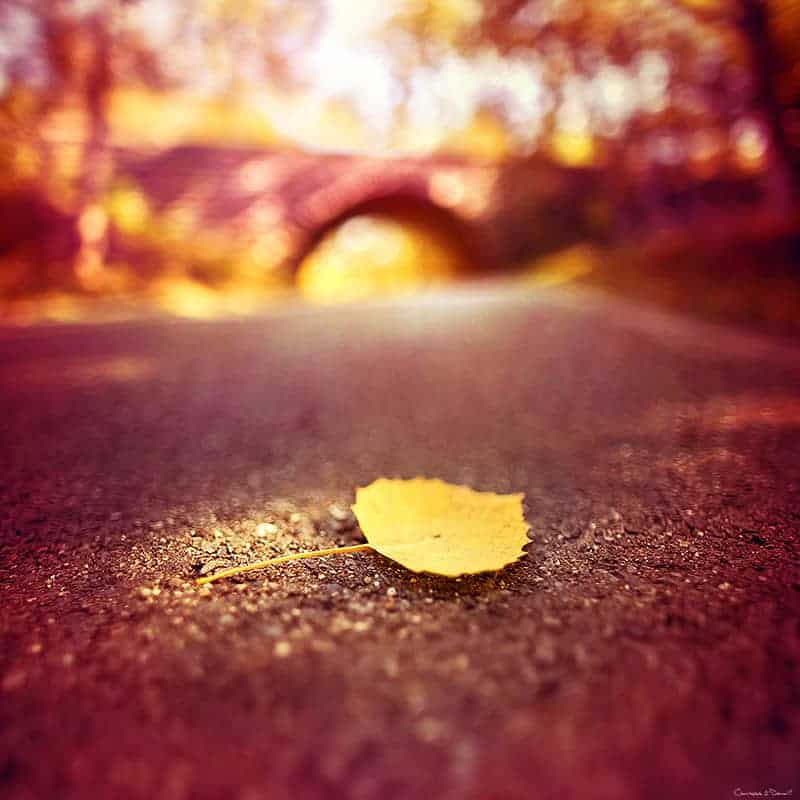
One method I use frequently during the autumn season is to deliberately adjust my plane of focus to fall over the background or foreground; both methods provide intriguing results, and the method you use depends on your intent and creative vision.
Let’s continue on!
Foreground Point of Focus
Selecting a foreground element as your point of focus can help to redistribute the weight and balance of your frame that is altered by a shallow depth of field. Small, unnoticeable focal points (such as a fallen leaf) that would otherwise be lost in a deep depth of field now take center stage in your composition.

Background Point of Focus
If you find yourself selecting a background element as your main subject, you don’t have to limit yourself to a deep depth of field to compensate. Instead, push your plane of focus back to your subject while obscuring your foreground. A background focal point with a shallow depth of field adds depth and layers, creating an atmosphere thick with a sense of discovery and exploration.
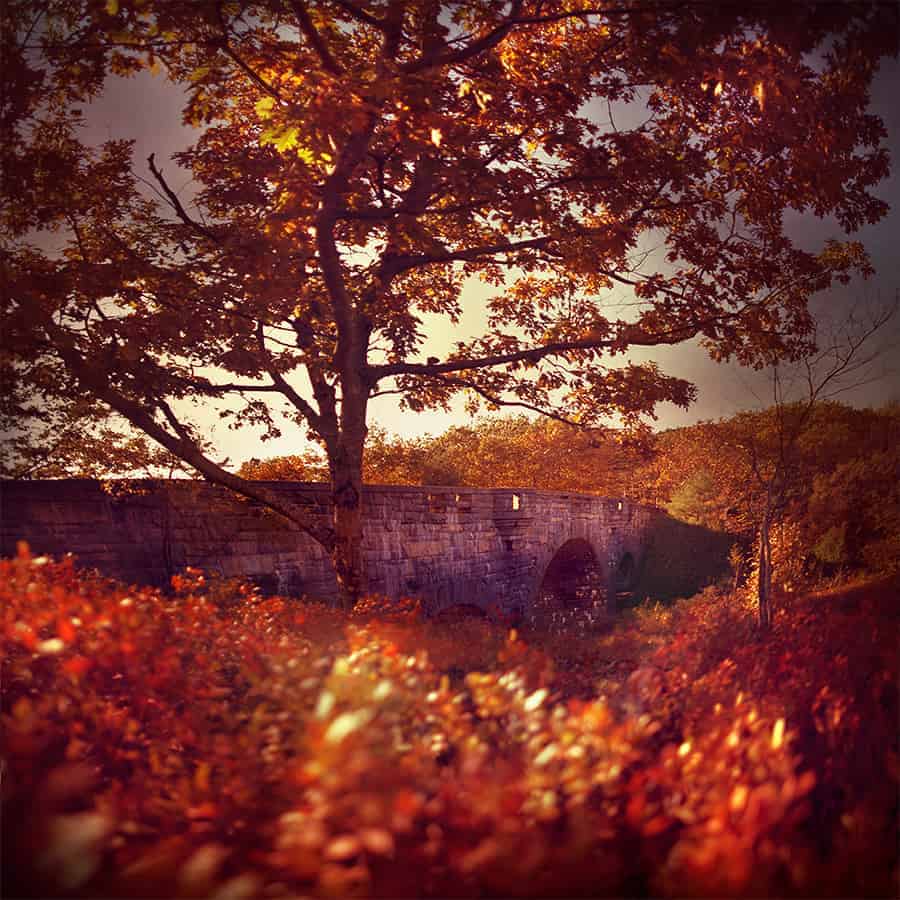
In my image here of Duck Brook Bridge in Acadia National Park, the shrub foliage in the foreground acts as a simple atmospheric enhancement to my main subject, enveloping the bridge without distracting too much attention away from it.
Shallow depths grant you greater control over the flow of your frame, which is highly successful for those awkward compositions that need a better balance between focal points. There are several factors beyond a wide aperture that contribute to creating bokeh and a shallow depth of field, such as distances between subjects and the quality of light. In my eBook Bokeh, I explain this process in great detail.
Bokeh: Creating with Shallow Depths is a free eBook that you can download right here.
3. LONG EXPOSURES
I’ve always been drawn to the ethereal quality of long exposures, and the surreal colors of autumn provide a unique opportunity to develop stellar imagery. The unsettled autumnal winds can create painterly textures and colors as it blows through the foliage, and extended shutter speeds can create an incredible atmosphere.
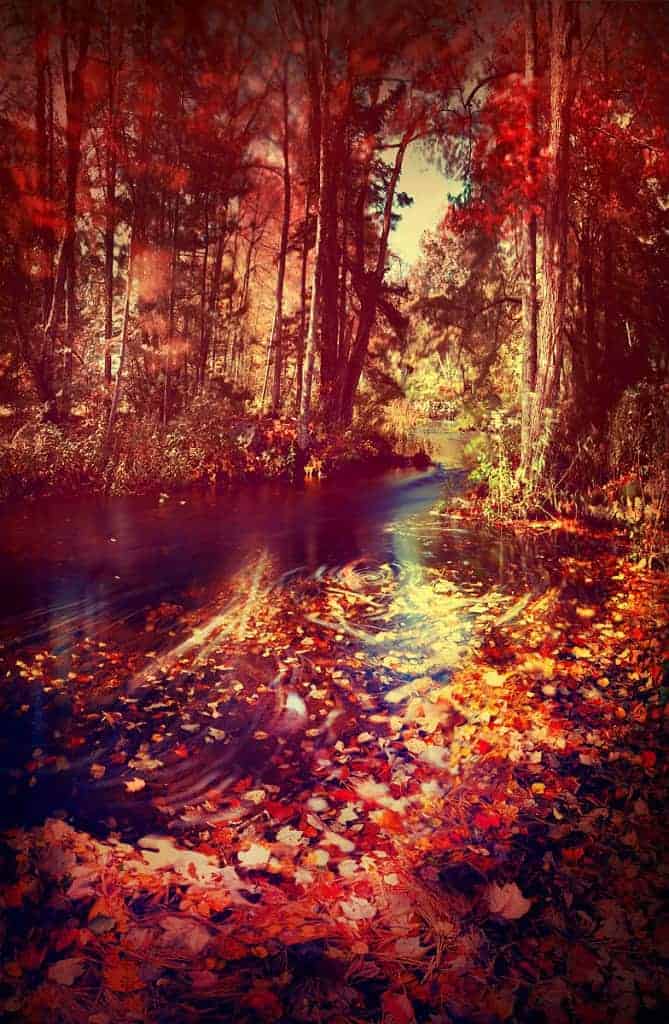
With a shutter speed of two full seconds, I was able to track the movement of fallen leaves floating downstream, rendered as the streaks you see in the water.
I frequently combine my shallow depth work with long exposures, usually with an aperture of f/1.4, which allows for a substantial amount of light to hit my sensor. To compensate, I require some intense ND filters to slow down the shutter enough to capture the windswept movement.
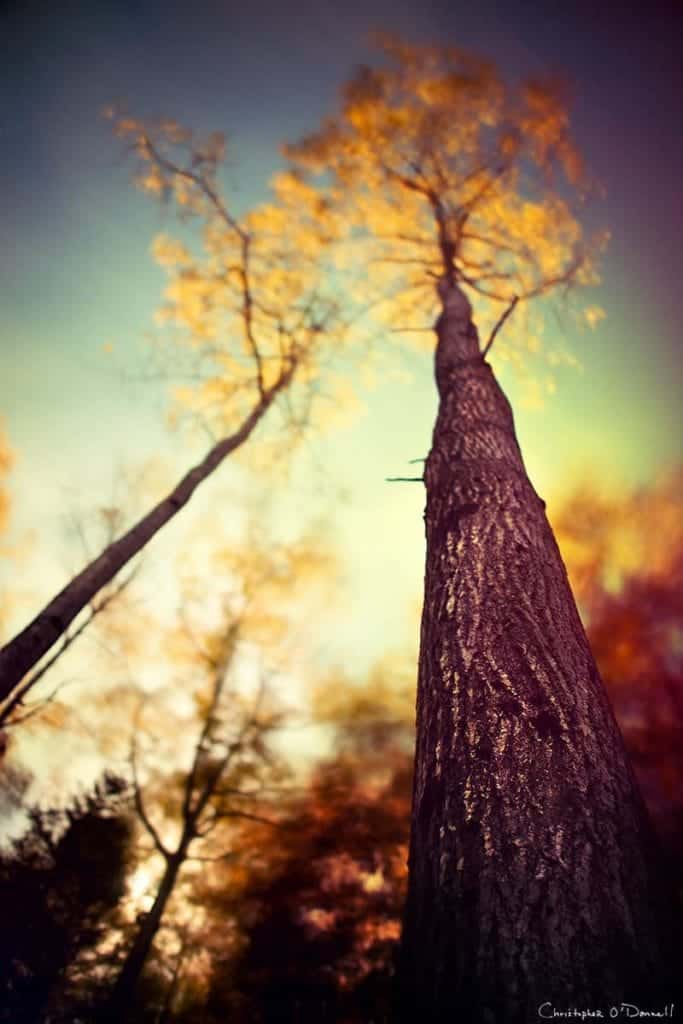
With two ND400 filters stacked, I was able to reduce my exposure by 18 full stops and attain a shutter speed of 52 seconds at f/1.4. The autumnal winds softened my bokeh for an ethereal rendering.
Polarizing Filters
Many photographers use polarizing filters in their landscape photography, and these filters are especially beneficial for autumn foliage. Not only will one saturate the colors of your landscape, but it will reduce any color-washing glare from light reflecting off of leaves and water.
I’ve found polarizing filters to be very helpful for those unsettled autumn mornings where the sun is out but the foliage is damp from melting frost, eliminating any reflective glare. Lens flare and sun reflections have the ability to desaturate your hues, so reducing this effect on foliage is a welcomed benefit.
It’s important to note that polarizing filters will typically reduce your exposure by 1 to 2 full stops. When combined with a small aperture, this can slow down your shutter speed enough to cause camera shake and blur. As always, I recommend using a tripod and to employ a typical long exposure workflow.
When is “peak” foliage?
From a photography perspective, the foliage season is actually quite longer than what many consider to be peak color. From the first sign of autumn hues to the last fallen leaf, opportunities to create are plentiful before, during, and after the height of color. The rusty gold oak trees hang onto their color a bit longer than the more attractive reds and oranges.
Although this scene below was taken weeks after the end of peak foliage, I was still able to create one of my favorite autumn images by focusing on the scene I had in front of me rather than what I had already missed.

It’s never too early to begin your autumn photography once you spot foliage. The early turners are often some of the most vibrant, and there are methods you can use to isolate your subject and obscure the predominantly green environment.
By using a shallow depth of field on this leaf below, I was able to focus solely on the bit of color I found, highlighting the more delicate details of autumn.
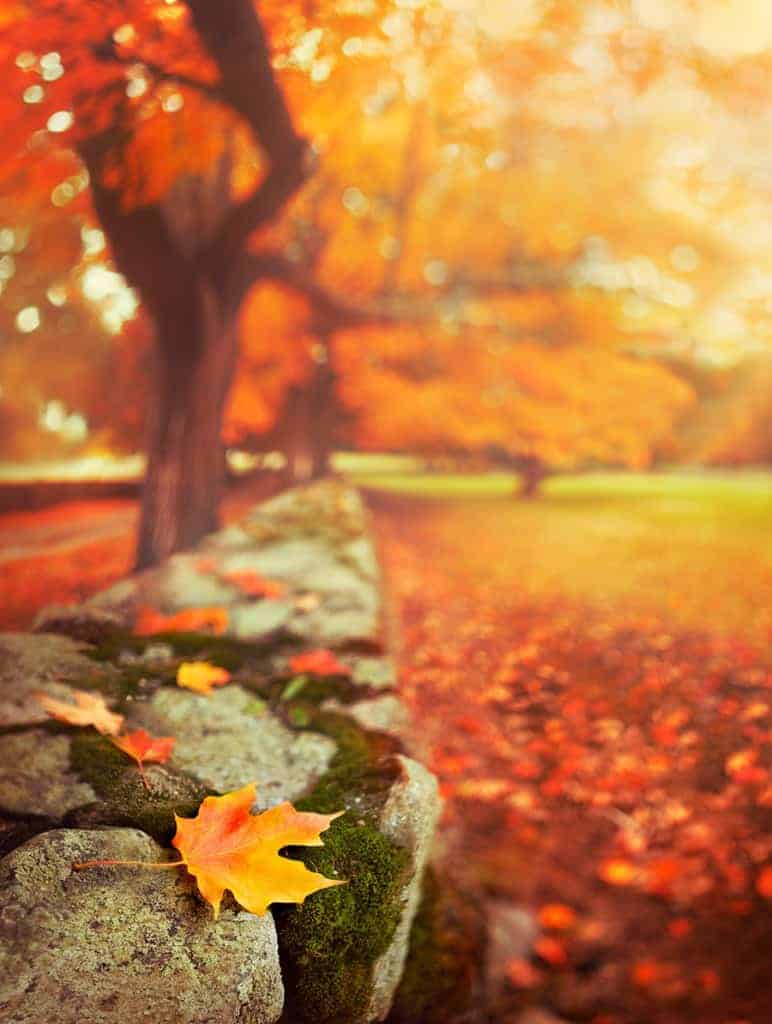
Look Beyond the Foliage
The siren-like quality of autumn vistas may dominate your attention in the field, but try to explore other subjects – you may be pleasantly surprised with your results.
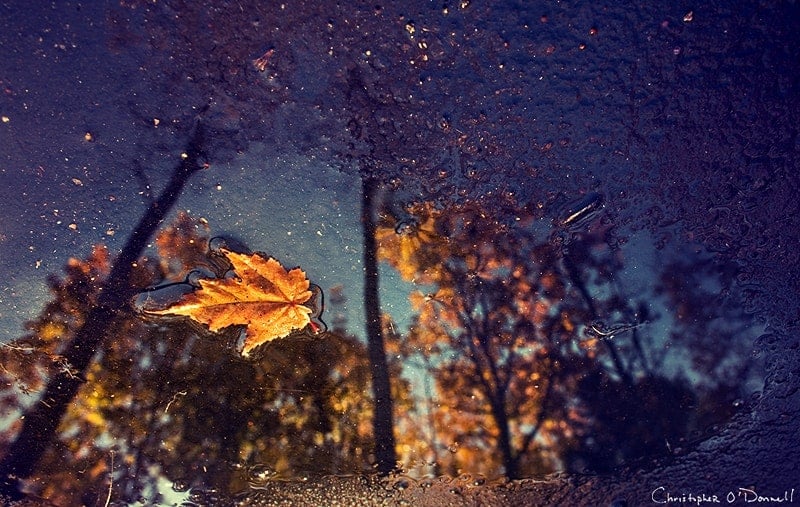
Cooler temperatures and drier air bring vibrant, crisp colors and textures in the sky, especially during the golden hours. I’ve found that my most visually intriguing sunsets were captured during the autumn months.

A dynamic autumn portfolio is possible simply by being aware of your environment and knowing how you want to translate it. Night or day, diffused or golden hour light, vistas or minimalistic, peak color or long past – the opportunity to create powerful autumn photographs are plentiful.
Nature determines the environment we find ourselves in, and foliage begins to fade as soon as it falls from the tree. Don’t wait for “better light”. Instead, use it as an opportunity to acclimate to the unpredictability of nature by exploring new creative methods.
Thanks for reading! And remember: if you want to save and download this article to read later, click the link below!
